Showing posts with label kids. Show all posts

Tuesday, February 26, 2013

Entertainment Center/Dresser turned Kitchen

Happy Tuesday everyone! Like I said in my last post I have been working on projects left and right, but haven't found the time to post. My wonderful little niece K turned two at the beginning of this month and I made it my mission to deliver the best present from her best auntie! I'm sure my sister-in-law's sis would have something to say about that but oh well :-) Moving on I remembered my brother saying something about them wanting to buy her a Minnie Bow-tique kitchen for Christmas but it was ridiculously overpriced and totally not worth it. Well that's when I got this lovely idea to make her very own personalized kitchen! A kitchen for K!! So I started my Craigslist shopping...side note we don't live in a big city like LA or San Fran so I am sure there isn't as much cool stuff out there, but I have found some fairly good deals. After I have sifted through the nonsense, like how people think their USED things are made from gold and can charge close to what they purchased it for 5 years ago! I found this entertainment center/dresser. It was listed for $40, but I talked the woman into $20!!


Please excuse the mess on my patio. This had to be put on our back patio because I had bought a kitchen table off Craigslist back in eeeek September that I swore the Hubs that I would get started on right away and it still hasn't been touched! I'll show you my finished product here and then explain how I did everything!


Yay! I totally love how it turned out! Ok first I did some major research on the web and on Pinterest to see what I could do about paint. I don't sand. Simple as that. So what I found most common everywhere was to use a good primer. So off to the store I went. Well what I found was I was going to have to purchase both primer and paint and really I wanted this project to be AS CHEAP as possible. So here lil' D and I in OSH and they have mistints on the counter. I look and find this...in this color(I wanted a pinkish purple!)
-

It fit pretty perfectly. I asked how much it was and he said the price was on the back, but that I should know it's regularly a $50 can of paint...It turned out to be $3!! HA! Like I was gonna pass up on a GALLON of paint that was a little lighter then I wanted with primer already included for 3 bucks! Off to the register we went!!

Well it turns out you can't paint in less than 50 degree weather and for the next two weeks that was the high...SAD FACE! I was all pumped and ready to start my project and the weather wouldn't let me! So I got to work on what I could do indoors. 

This is her stove-top. I got 4 old cd's and spray painted them black and then took a silver sharpie to make the lines. They are glued onto a spray painted piece of 11x14 plexiglass. The knobs my mom bought at Home Depot. I was determined to go to our big recycling center in town, but I really didn't want to drag Lil' D there and they were only open certain hours. So my mom ended up getting these for me...they cost as much as the entertainment center! They turn and everything. The hubs figured out how to do it...the knobs came with these plastic round parts to attach them to the rod that sticks out of your stove, well we drilled a screw through the plexiglass into the top shelf and then attached the knobs to the plastic thing.

FYI to you must drill the holes in the plexiglass first or it will crack. To do this I put a piece of painters tape on both sides where I wanted a hole, put the plexiglass on a level piece of wood and slowly drilled a small hole.  I had to increase my bit size little by little because if you start out trying to go huge it will crack as well. 


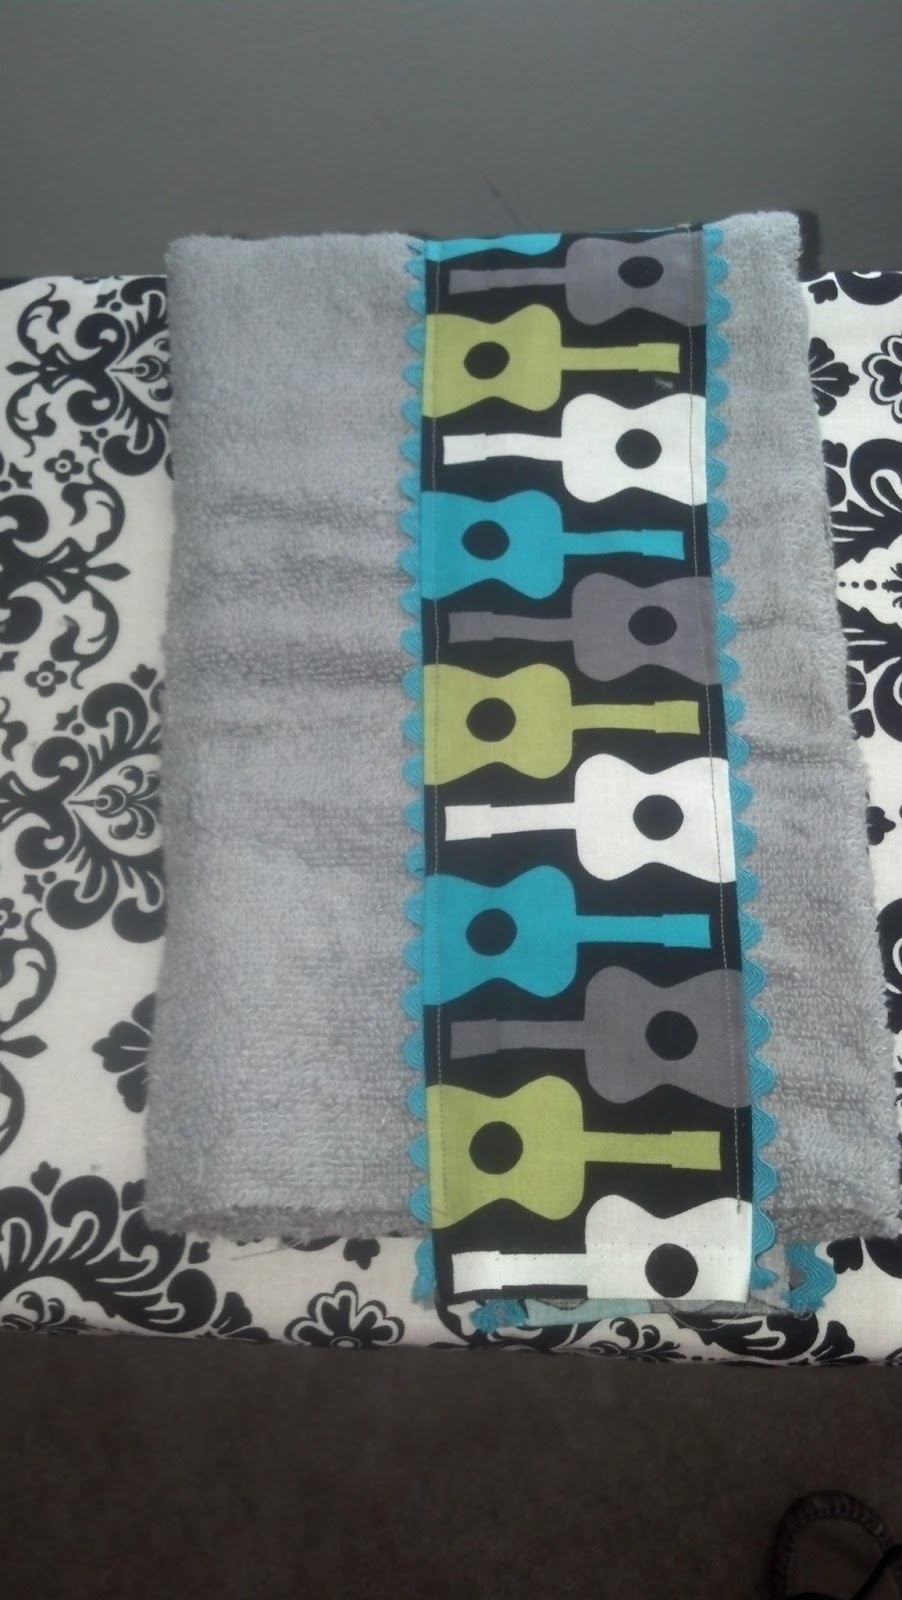
Still waiting on the weather I made her an apron (made with Velcro so mom and dad don't have to tie it for her every time she cooks) and some curtains for the kitchen, as well as sewed a matching piece of material on a pink kitchen towel and hot glued a piece of fabric around an old cup for a utensil holder.
Finally the weather was nice enough to let me start to paint!! So while Lil' D nap I wiped the entire entertainment center down with Windex and then gave it a very light sanding. Then cleaned off all the sanded areas and started painting.  The next day I realized that I was going to have to do a second coat to make sure it was covered pretty well. I couldn't decide whether or not to paint inside the fridge, but in the end did.

For the "refrigerator door" I mixed a cup or so of my paint, added a dark purple acrylic paint and a tablespoon of unsanded tile grout to make my own chalkboard paint.  That I actually did have to sand a little after I painted it because if you don't stir the grout in well enough there will be little bits here and there. So I just sanded it down to make it more smooth. 


My mom redid her bathroom a couple years ago and bought a second small faucet for the other bathroom, but decided to go with something else so she had the faucet laying around in the garage. I found the "sink bowl" at the 99cent store. The Hubs drilled holes for the faucet and used the circular saw to cut a hold to attach the sink bowl. I attached it using Liquid Nails(totally awesome and totally cheap!) For my "granite" countertops I got a roll of speckled cabinet/drawer liner and attached it prior to putting the faucet and sink on. Then I used the Liquid Nails again and attached my stovetop.


Ok so as you could see by the first picture the bottom had two drawers. I didn't want drawers I wanted cabinets. It's supposed to look like a kitchen! What you don't see is this entertainment center had a shelf about a foot down from the top that was removable. (I forgot to leave it in for the "before" picture.) I assume it was where you would put your DVD player or whatnot. Anyway I cut the shelf into two 13" wide pieces. I went to the hardware store, picked up some new hinges and door handles to match the fridge door. I painted one of them the color of the "kitchen" and I sprayed the other a metallic gray.  When it was dry I taped off the outside and sprayed a black "window" since this was supposed to look like an oven door.  It even opens the way an oven opens!

So as you can see inside my oven/cabinet doors there are shelves. I totally had no idea how to go about doing this so I decided to take the faces off the drawers that were originally there and then paint the inside of the drawers. Totally cheating and I am sure there was a way that would have looked better, but it was coming down to the wire on Miss K's birthday party.

Inside the fridge I didn't paint the back wall,
but instead Modge Podge some colorful scrapbook paper.
I saved some random kitchen things to put in the fridge
(my mom and dad bought Miss K additional play food, plates, and pots&pans).
The pink baskets on the bottom came from the Dollar Tree,
as well as the racks in the oven, the cupcake pan,
the wooden spoons, and measuring cups.


On the side I found an old phone at my mom's house
(it's like treasure hunting over there!)
and I bought a pizza pan (also at the Dollar Tree)
and you guessed it....
Liquid Nailed them to the side of the kitchen.


Finally I wanted to close up the back so it wouldn't be an open hole.
I found a large piece of cardboard, cut it to size, sprayed it with this
amazing spray glue and attached a dark purple piece of fabric to the cardboard. 
I then took my handy staple gun and
stapled the cardboard to the back of the kitchen "window."


It looked great...but I had to take off everything that could fly away during transport and wrap it up. We loaded it in the Hubs' truck and drove it to the party. I have to say I believe it was a hit. My brother tells me Miss K goes into her playroom every morning when she gets up and cooks them breakfast. I think I nailed the best gift award this time! Go Auntie Kas!!


Pin It

Monday, February 25, 2013

Hooded Towels

Hiya! So I started this blog awhile ago and it has changed here and there...I can barely keep up with Lil' D running around the house getting into EVERYTHING! But I want to be better. I have been consistently making projects and taking photos of those items, I just haven't seem to find the time to sit down and write the tutorial and whatnot! So here goes the first one. With the help from these two wonderful tutorials The Cottage Home http://thecottagehome.blogspot.com/2010/10/embellished-hooded-towel-tutorial.html and Crazy Little Projects http://crazylittleprojects.com/2013/01/hooded-towel-tutorial.html I whipped up a pair of hooded towels for  Lil' D because the infant ones were getting mighty small. These ended up being quite large, but hey he can grow into them! Anyways here goes nothing!  

Hooded Towel Tutorial!

Items needed:

Hand Towel(yes although I at first bought a washcloth trying to save a buck you need a hand towel)
Bath Towel
Thread
Iron
Sewing Machine(I am sure you could hand sew this but it would take awhile and probably wouldn't hold up)
Optional:
Strip of fabric(approximately 4"x25"
Coordinating Ric Rac any size you want(wavy like ribbon, but it's not by the ribbon it's by the zippers)

Step ONE
Ok somehow I got ahead of myself and didn't take a pic of the first step! Anyways you need to trim the hand towel to approximately 24" You can have it longer this is the size I did. So what I did was trim off both sides where its hemmed and an extra 2" or so on one side to make it 24" These next steps are optional...maybe you want nothing more than a plain hooded towel to start with skip down to step 4 for the remainder of this tutorial. If you want some added fun-ness keep following the tutorial from here:

Step TWO
Grab a piece of material and trim it to approximately 4"x25" (if you went longer on your towel then add about an inch to the length you went)Since I trimmed my hand towel to 24" I need a piece of fabric that's 25" in length. (Don't you just love this fabric?! I can't remember where I got it, but I purchased it for my son's first birthday since we did a rockstar theme. I made an applique ONE shirt with it, a party hat and a bib!)


Once you have it trimmed you can either fold over the edge and sew it to your towel like in step 3 or we can add Ric Rac like I did. Take your Ric Rac and sew it to both long sides of your piece of fabric.
 

After you sew the Ric Rac to both sides you are going to fold the ric rac over to the back side and Iron it down so only a little shows.


Step THREE
Now you are going to take your hand towel and fold it long ways...hot dog fold(I used to teach 2nd and 3rd graders what can I say?!?) And you are going to pin down the piece of material you just sewed the ric rac to about 1/2"-1" down from the fold.
Now top stitch it along both sides to the towel :-) So that it's attached!


Step FOUR

Ok now that you have your fabric strip sewn to your hand towel you are going to take your towel and fold it width wise (hamburger fold) so that the fabric strip is on the inside 
Now you are going to sew it closed along the left and right sides. This will make like a big pocket.  Now you need to turn it right side out.

STEP FIVE
 These next steps may get a little confusing so I will try my best at explaining them! You should have your hand towel laying down fold on top fabric piece on the left side like so...

You are going to take the top right corner and push it into itself...

Keep pushing the right corner and you will place it into the left corner. Now the piece of fabric you sewed to the towel should be about an inch away from the new fold you made.


Now you are going to pinch about halfway down on both sides of your new fold you just made and pull it out or "open it up" (so confusing hope the picture will help!)
Now you have a hood!!


Ok so as you can see I have a bit of fabric hanging off and it's kind of a rough edge. So I turned it over, pinned up up and sewed it shut so it would look a little nicer. (honestly you don't have to do this.  You could just fold the piece of fabric in and then go onto step 6.  This is just so it looks a little more finished)  


Step SIX

Now it's finally time to start playing with out bath towel! This is another optional part. I wanted my towel to be gathered a little so I folded it in half width wise to find the center. I then went out about an inch on each side from the center and then folded it back toward the center and out again.  I pinned this and then zigzag stitched it(this helped since I had so much fabric!) This will give you a gathered look, but like I said you don't need to do this step if you don't want.


Step SEVEN

You are going to take the hood you made and the bath towel. Gathered or not find the center of the towel and the center of your hood, place them down so that the back of the towel is meeting with the back of the hood and pin!!


Please don't mind my camera strap I didn't realize it wanted to photo bomb my picture!
Now you need to sew the bath towel and the hood together.  I used a zigzag stitch for this as well.  and I really helped it through my machine. It's really thick so you might need to help it along!

Step EIGHT
Enjoy your bath towel!! It's complete! Honestly you could use it on yourself and not your littles, but either way be proud that you made something that cost no where near as much as it is to buy one! AND you can totally personalize it! I waited until these towels (RE brand from Tar-jay {Target}) were on sale. I paid $3 for the hand towel and $5 I think for the bath towel, and they have super vibrant colors. I think that's what I loved the most!


Pin It