Hooded Towel Tutorial!
Items needed:
Hand Towel(yes although I at first bought a washcloth trying to save a buck you need a hand towel)
Bath Towel
Thread
Iron
Sewing Machine(I am sure you could hand sew this but it would take awhile and probably wouldn't hold up)
Optional: Strip of fabric(approximately 4"x25"
Coordinating Ric Rac any size you want(wavy like ribbon, but it's not by the ribbon it's by the zippers)
Step ONE
Ok somehow I got ahead of myself and didn't take a pic of the first step! Anyways you need to trim the hand towel to approximately 24" You can have it longer this is the size I did. So what I did was trim off both sides where its hemmed and an extra 2" or so on one side to make it 24" These next steps are optional...maybe you want nothing more than a plain hooded towel to start with skip down to step 4 for the remainder of this tutorial. If you want some added fun-ness keep following the tutorial from here:
Step TWO
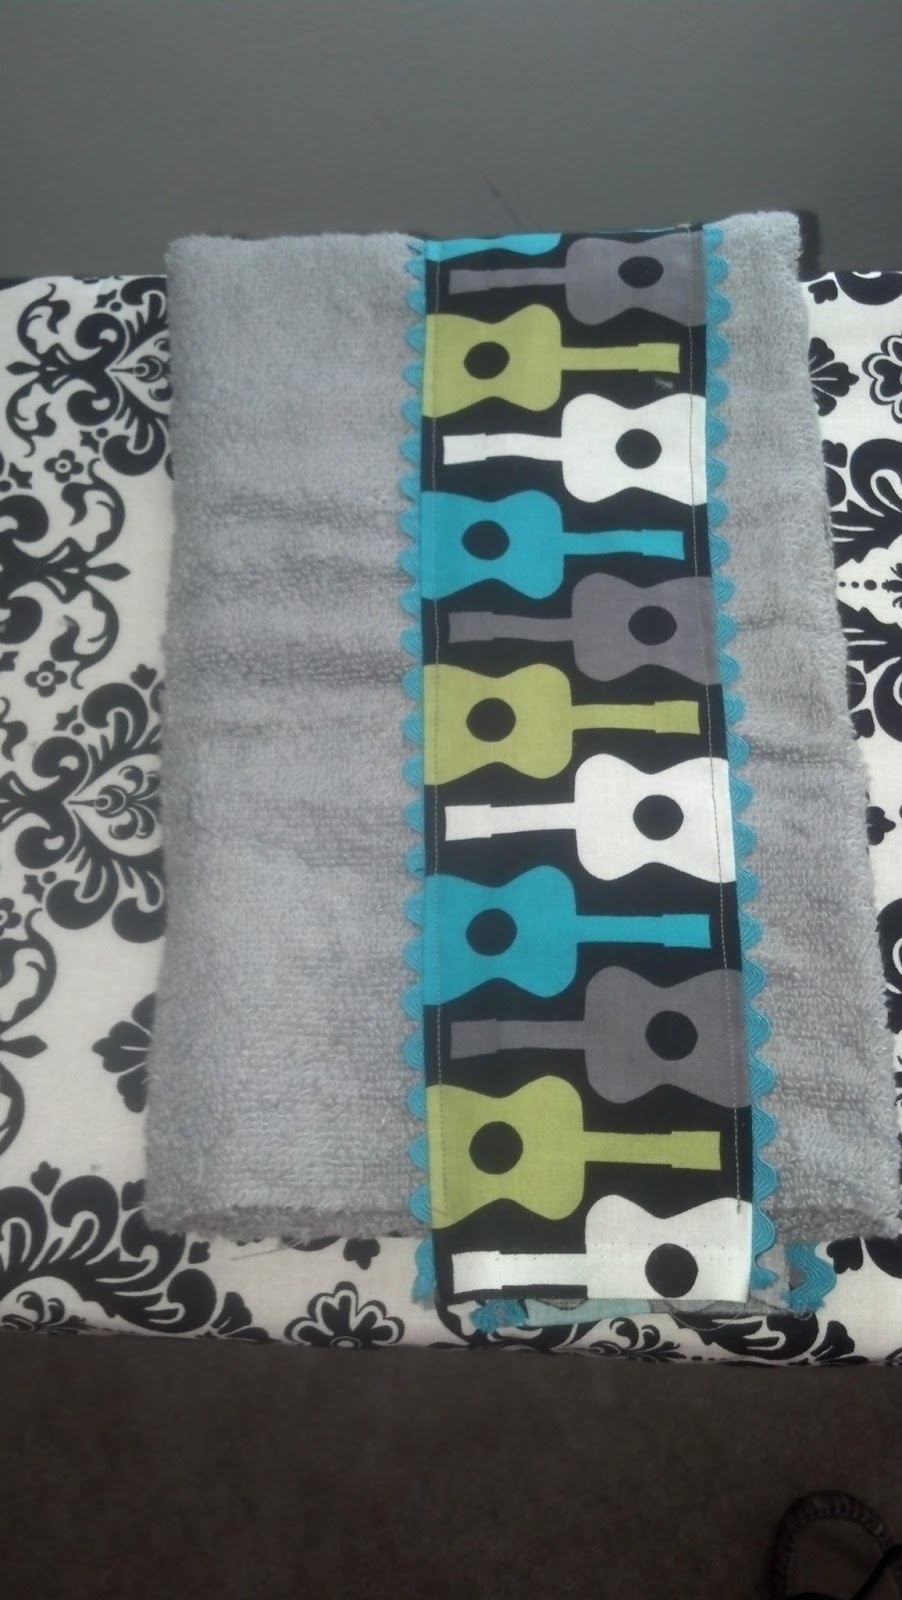
Grab a piece of material and trim it to approximately 4"x25" (if you went longer on your towel then add about an inch to the length you went)Since I trimmed my hand towel to 24" I need a piece of fabric that's 25" in length. (Don't you just love this fabric?! I can't remember where I got it, but I purchased it for my son's first birthday since we did a rockstar theme. I made an applique ONE shirt with it, a party hat and a bib!)

Once you have it trimmed you can either fold over the edge and sew it to your towel like in step 3 or we can add Ric Rac like I did. Take your Ric Rac and sew it to both long sides of your piece of fabric.


After you sew the Ric Rac to both sides you are going to fold the ric rac over to the back side and Iron it down so only a little shows.


Step THREE
Now you are going to take your hand towel and fold it long ways...hot dog fold(I used to teach 2nd and 3rd graders what can I say?!?) And you are going to pin down the piece of material you just sewed the ric rac to about 1/2"-1" down from the fold.
Now top stitch it along both sides to the towel :-) So that it's attached!

Step FOUR
Ok now that you have your fabric strip sewn to your hand towel you are going to take your towel and fold it width wise (hamburger fold) so that the fabric strip is on the inside


Now you are going to sew it closed along the left and right sides. This will make like a big pocket. Now you need to turn it right side out.
STEP FIVE
These next steps may get a little confusing so I will try my best at explaining them! You should have your hand towel laying down fold on top fabric piece on the left side like so...


Keep pushing the right corner and you will place it into the left corner. Now the piece of fabric you sewed to the towel should be about an inch away from the new fold you made.

Now you are going to pinch about halfway down on both sides of your new fold you just made and pull it out or "open it up" (so confusing hope the picture will help!)
Now you have a hood!!

Ok so as you can see I have a bit of fabric hanging off and it's kind of a rough edge. So I turned it over, pinned up up and sewed it shut so it would look a little nicer. (honestly you don't have to do this. You could just fold the piece of fabric in and then go onto step 6. This is just so it looks a little more finished)


Step SIX
Now it's finally time to start playing with out bath towel! This is another optional part. I wanted my towel to be gathered a little so I folded it in half width wise to find the center. I then went out about an inch on each side from the center and then folded it back toward the center and out again. I pinned this and then zigzag stitched it(this helped since I had so much fabric!) This will give you a gathered look, but like I said you don't need to do this step if you don't want.


Step SEVEN
You are going to take the hood you made and the bath towel. Gathered or not find the center of the towel and the center of your hood, place them down so that the back of the towel is meeting with the back of the hood and pin!!


Please don't mind my camera strap I didn't realize it wanted to photo bomb my picture!
Now you need to sew the bath towel and the hood together. I used a zigzag stitch for this as well. and I really helped it through my machine. It's really thick so you might need to help it along!
Step EIGHT
Enjoy your bath towel!! It's complete! Honestly you could use it on yourself and not your littles, but either way be proud that you made something that cost no where near as much as it is to buy one! AND you can totally personalize it! I waited until these towels (RE brand from Tar-jay {Target}) were on sale. I paid $3 for the hand towel and $5 I think for the bath towel, and they have super vibrant colors. I think that's what I loved the most!


No comments:
Post a Comment